By using the ClickFlare Custom Metrics feature, you can create your own custom columns. These columns are generated by applying custom formulas that you define over the default metrics. In the formulas, you can use the following mathematical operations:
- Sum
- Subtraction
- Multiplication
- Division
Use Cases
There's virtually no limit to the new metrics you can create through this feature. Here are some examples from users' requests:
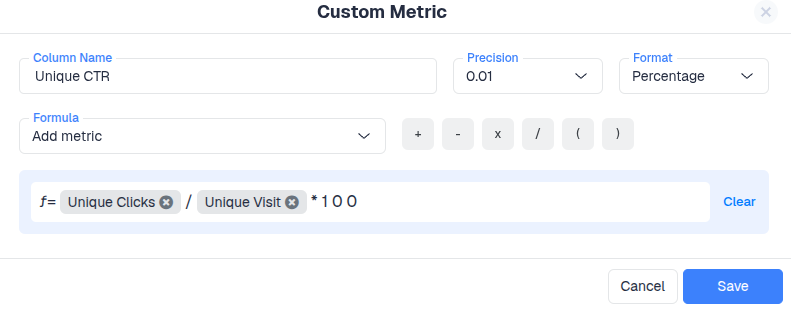
- Unique CTR: You can create a custom column that gives you the percentage of unique users who clicked through your landing page.
Unique CTR = Unique Clicks / Unique Visits - Cost per Custom Conversion: You can separately calculate the cost for each custom conversion.
Cost x custom conversion = Cost / Custom Conversion - Revenue Drop: In the case of search arbitrage, it's common to have an estimated revenue (through postback) until the final revenue (API) is confirmed. So it becomes handy to have a metric that calculates the drop from Estimated to Finalized Revenue. In case you separate these types of revenue through custom conversion, here's the formula you would use:
Revenue Drop (%) = 1 - Final Revenue/ Estimated Revenue
*Similarly, you can calculate the EPC drop
How to create a custom metric
- In ClickFlare, click Column Setting in the bottom right corner

- Scroll down to the Global columns' section, and click on + Add Custom Metric
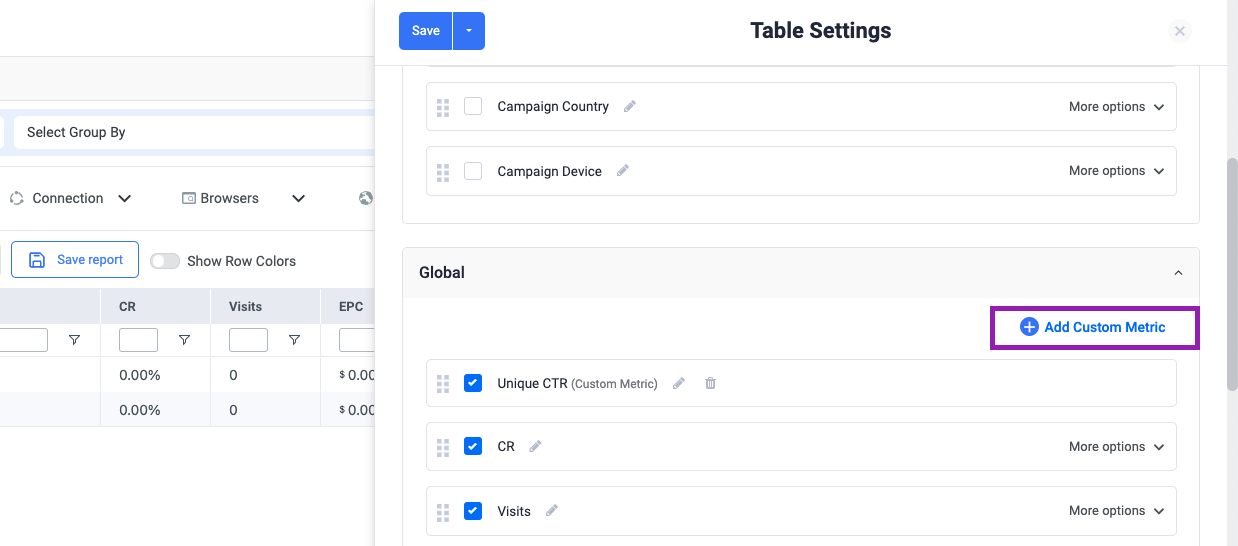
-
Enter a name for your custom column in the text field labelled "Column name".
- Select the result precision of your formula and the format (number, percentage, or currency).
- Create your formula by selecting metrics from the dropdown, or by entering static values.
- Click the save button
Note: You can not use another custom metric inside a formula. In that case, you would just need to expand the existing formula
The column will be added to your columns global section list and displayed by default in your current view
This feature is available on the Starter Plan and above