A campaign can direct a visitor to different paths and options to maximize its profits. When creating a new campaign, you can choose between 5 options of where to direct your traffic. In this article, we'll look at how you can set up a campaign when redirecting traffic through landers & offers.
-
To create a new campaign, from anywhere inside ClickFlare, click on the Campaigns tab on the left.
-
Start by selecting the +New button on the top left of your screen.
-
Begin by naming your new campaign; keep in mind to use a memorable name.
-
Choose the Traffic Source for this campaign as well as its Cost Model.
-
Proceed to selecting your campaign's path transition.
Redirect Tracking is a classic tracking method, in which a visitor is redirected through ClickFlare's servers, by applying path-altering options, such as rule-based paths, weights, A/B testing, or AI.
Direct Tracking, as the name suggests, is a tracking method in which the visitor lands directly on a designated site; there is no redirection in the middle.Note: You can place a note on your campaign, e.g., what its aims are. -
In the Destination tab, choose New Flow, and pick one of the 4 provided Redirect Modes.
-
Select Add Path (the same process applies even when creating a path in Conditional Paths).
-
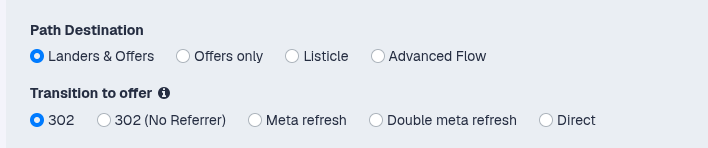
For this article, we are deciding that our traffic will go through Landers & Offers.
-
This means that you have to first choose the lander(s) a visitor will be directed to, as well as the offer(s) they will see.
Note: The traffic distribution is governed by a weight value. The proportion of weight values is reflected in a percentage of traffic distribution. This percentage always sums up to 100%. -
Important here is to select as well your Transition to the offer.
-
Once you are done, click on Save.
-
You'll be redirected to your Campaigns window, where you can see your newly created campaign join the list.
-
You can Preview, Edit, Clone, or Archive a campaign at any time.
