Thanks to ClickFlare's API integration with MGID, you'll be able to track the cost of your campaigns, content, and widgets (publishers) directly from ClickFlare, making their tracking and optimization easier than ever before.
In this article, we'll go over the step-by-step process of setting up the API Cost Integration with MGID.
What you'll need for the integration:
- An active MGID Account
- An active ClickFlare Account
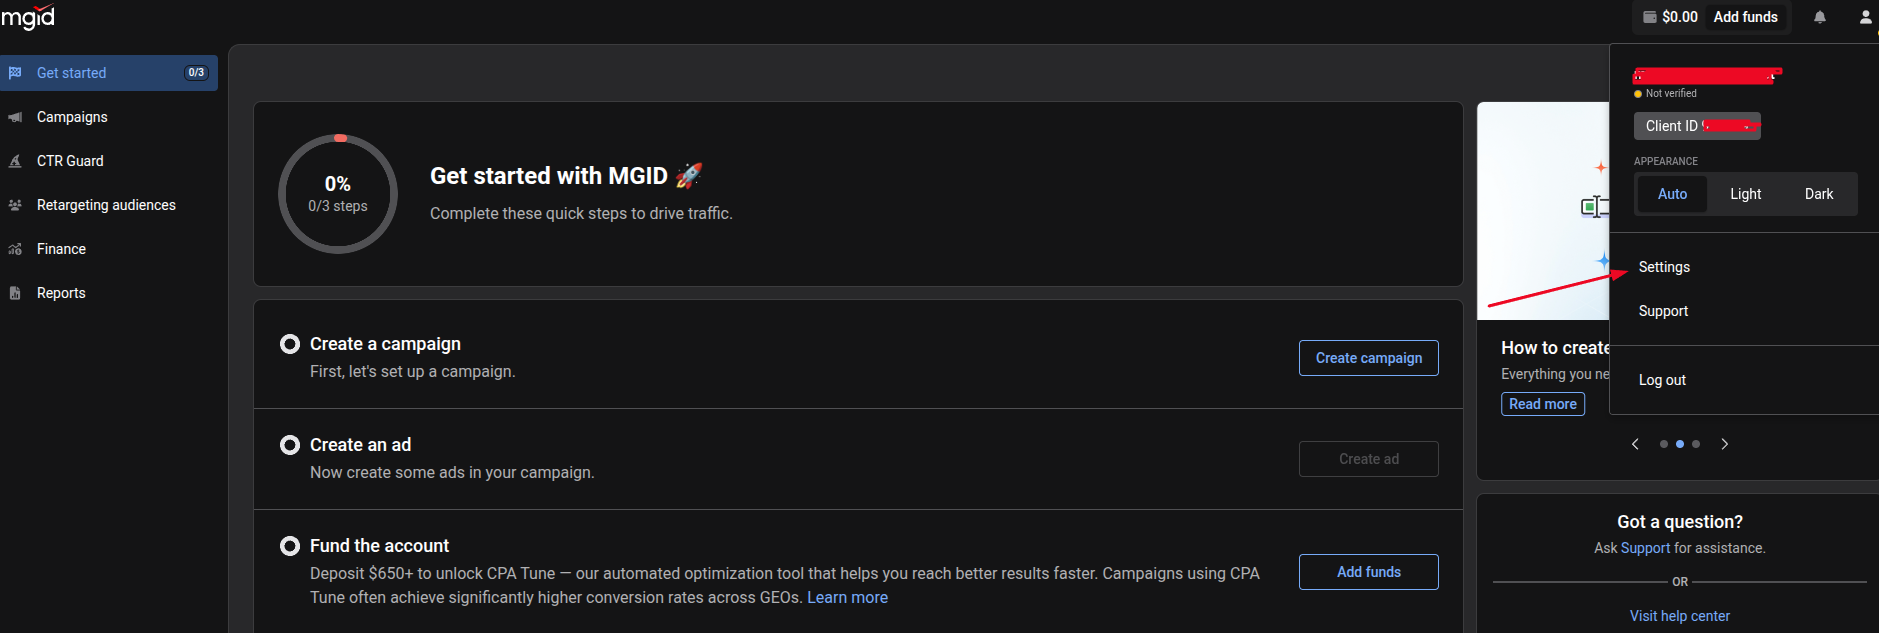
- Your MGID Credentials
Begin the process by:
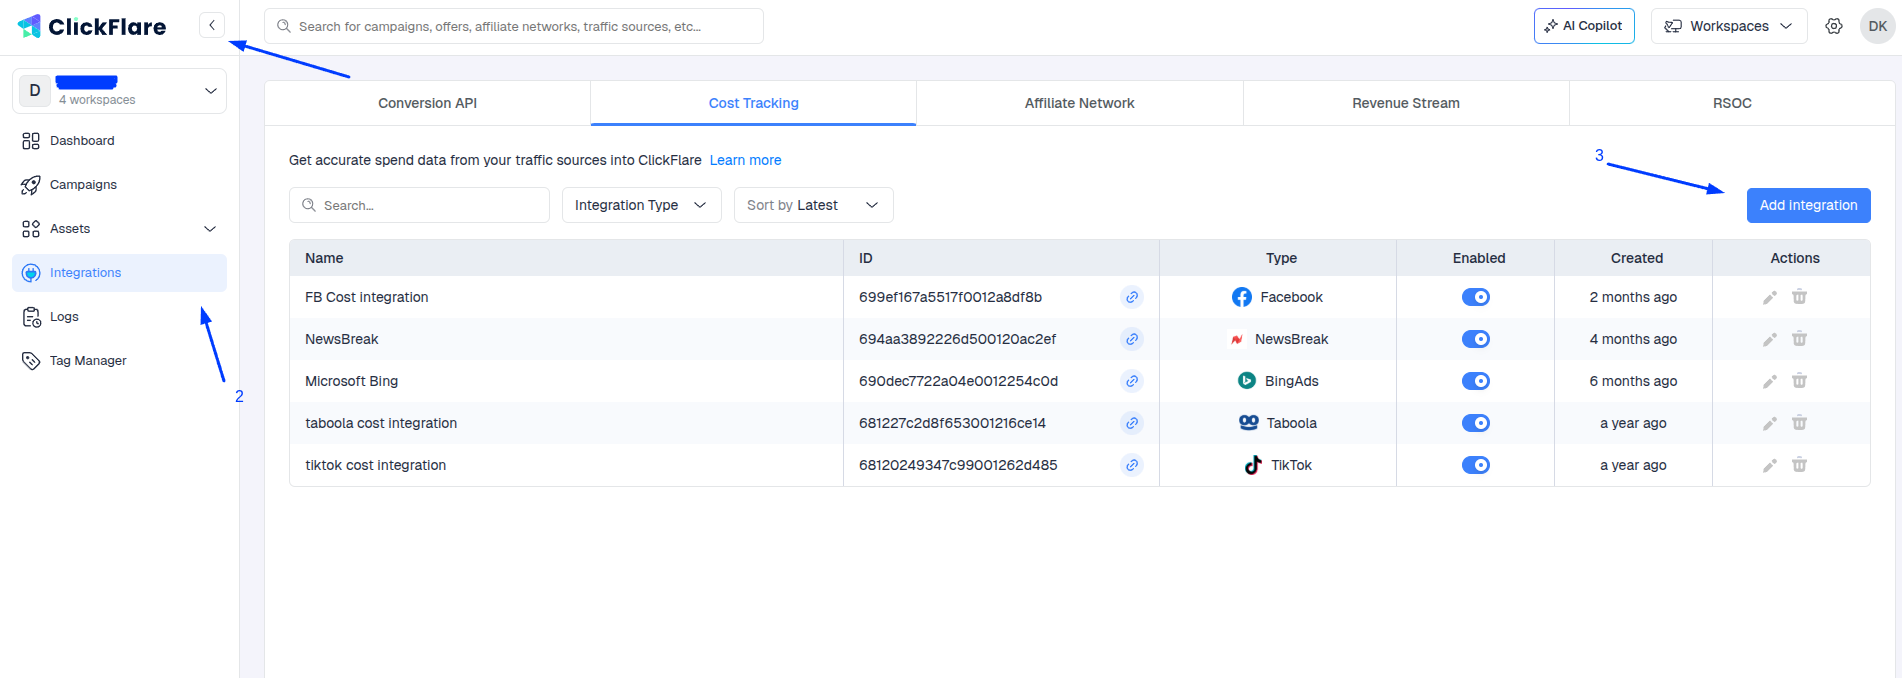
- Go to the Integrations tab.
- In the Cost Tracking Integrations section, click on Add Integration.
- Select MGID

- Paste the Email, Password, Client API ID, and Access Token of your MGID account, and select a Timezone.
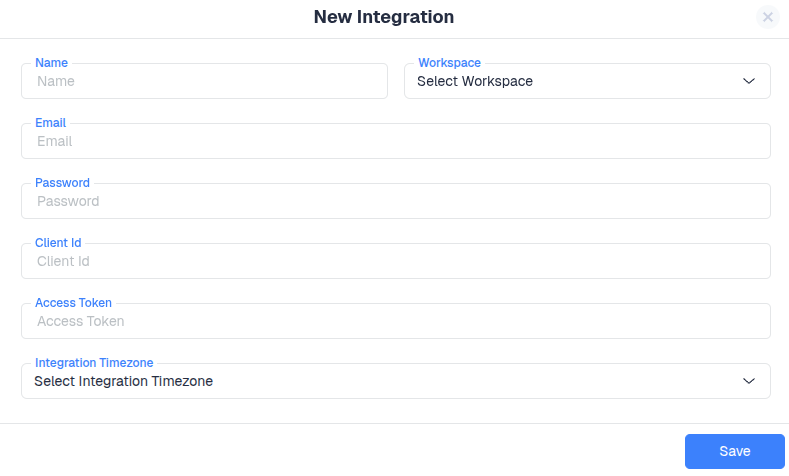
Note: Make sure to select the same timezone you have on MGID. Failing to do so may result in cost discrepancies.

Optional Step - Specify the traffic source you want to assign to this cost integration
to.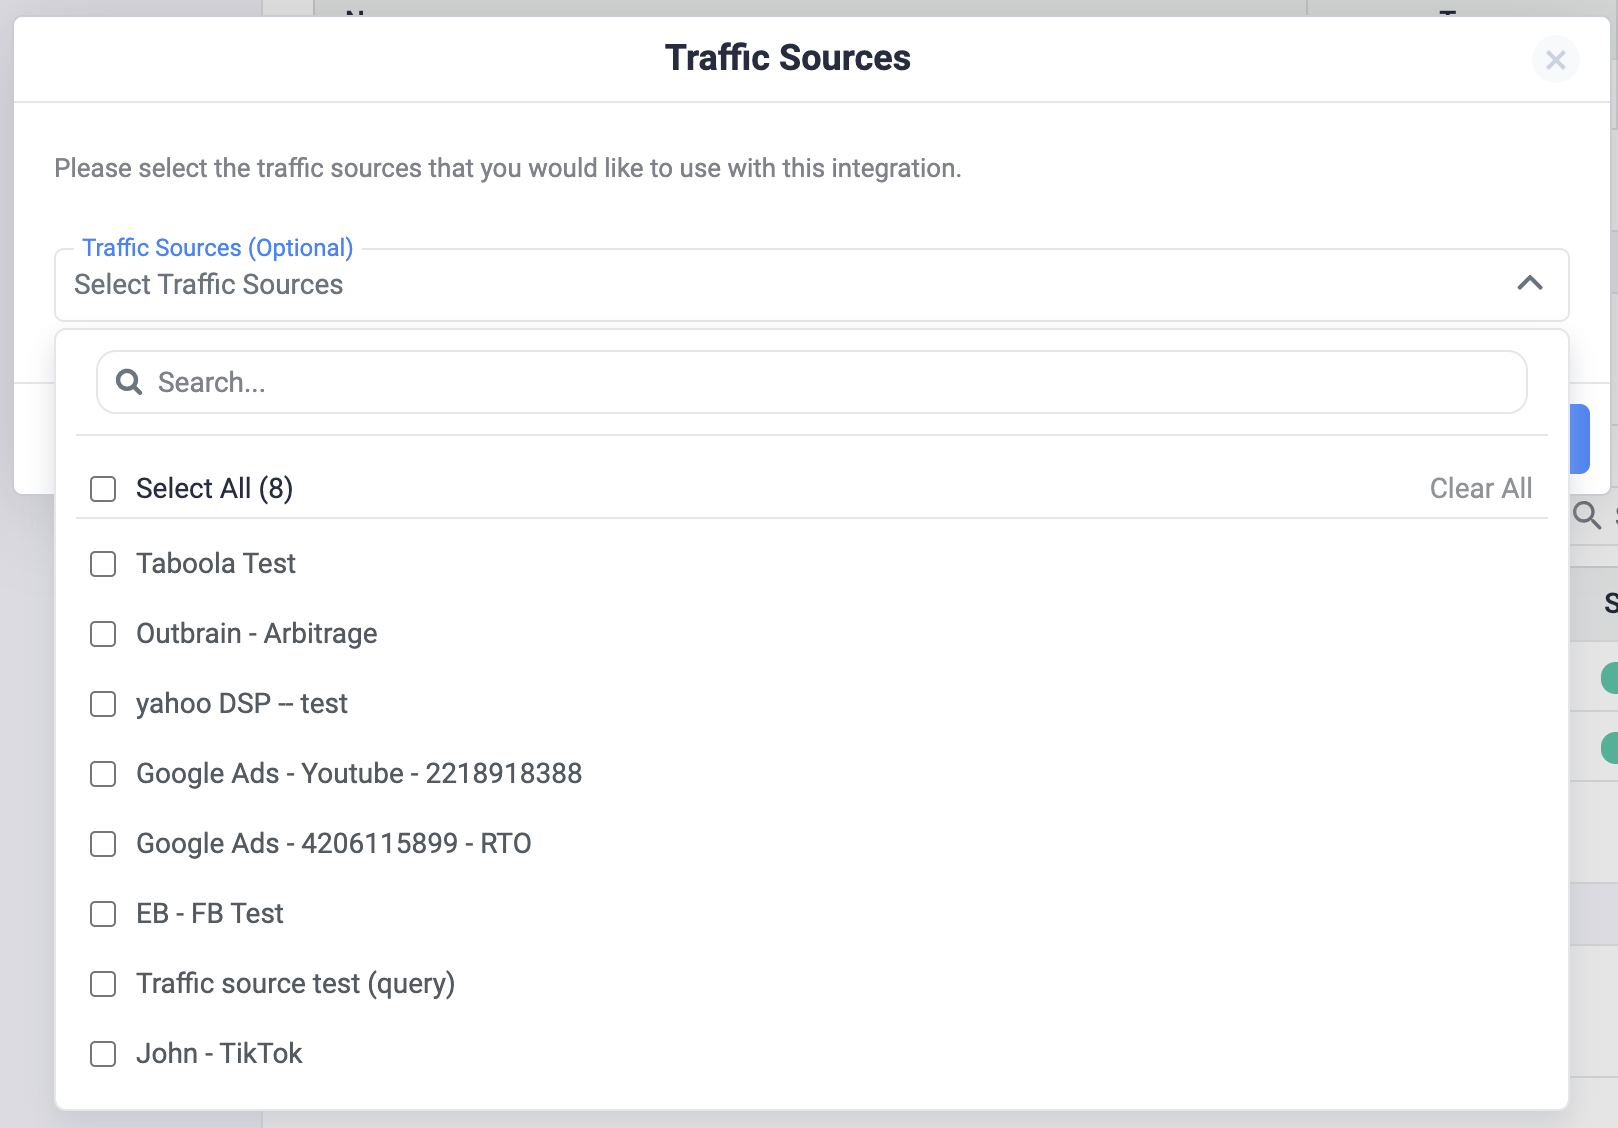
You can skip this step if you want. You can always add the cost integration later on, directly from the traffic source.
✅ Congratulations, you’ve just finalized the cost integration of MGID in ClickFlare. From now on, you’ll be able to see the cost of your campaigns directly from ClickFlare.