The following article primarily addresses Account Owners in ClickFlare.
Multi-User functionality enables you, as an Account Owner, to invite associates for seamless collaboration within one account. This feature works in tandem with the Workspaces feature, facilitating the creation of intricate campaign management structures. Users, with varying roles and levels of access to Workspaces, contribute to this collaborative environment. As the Account Owner, you hold unlimited privileges over your account, and this role is exclusive to one person per account.
Access Levels:
Your original registration as a ClickFlare account holder grants you the highest level of access. As an Account Owner, you can create and edit all campaign elements in both Public and Private Workspaces. Additionally, you can change role assignments akin to an Admin. Unlike the Admin, your access to Settings is unrestricted. You can view and modify payment details, access referral program links, and possess complete control over the Collaboration area settings. Only you have the authority to invite and edit Admins, responsible for managing and monitoring your campaign funnels.
- Billing and Payment area.
- Inviting other Admins.
- Security Area.
- Voluum importer.
Your Role:
Refer to the image below to visualize the user hierarchy in ClickFlare after activating the Multi-User feature.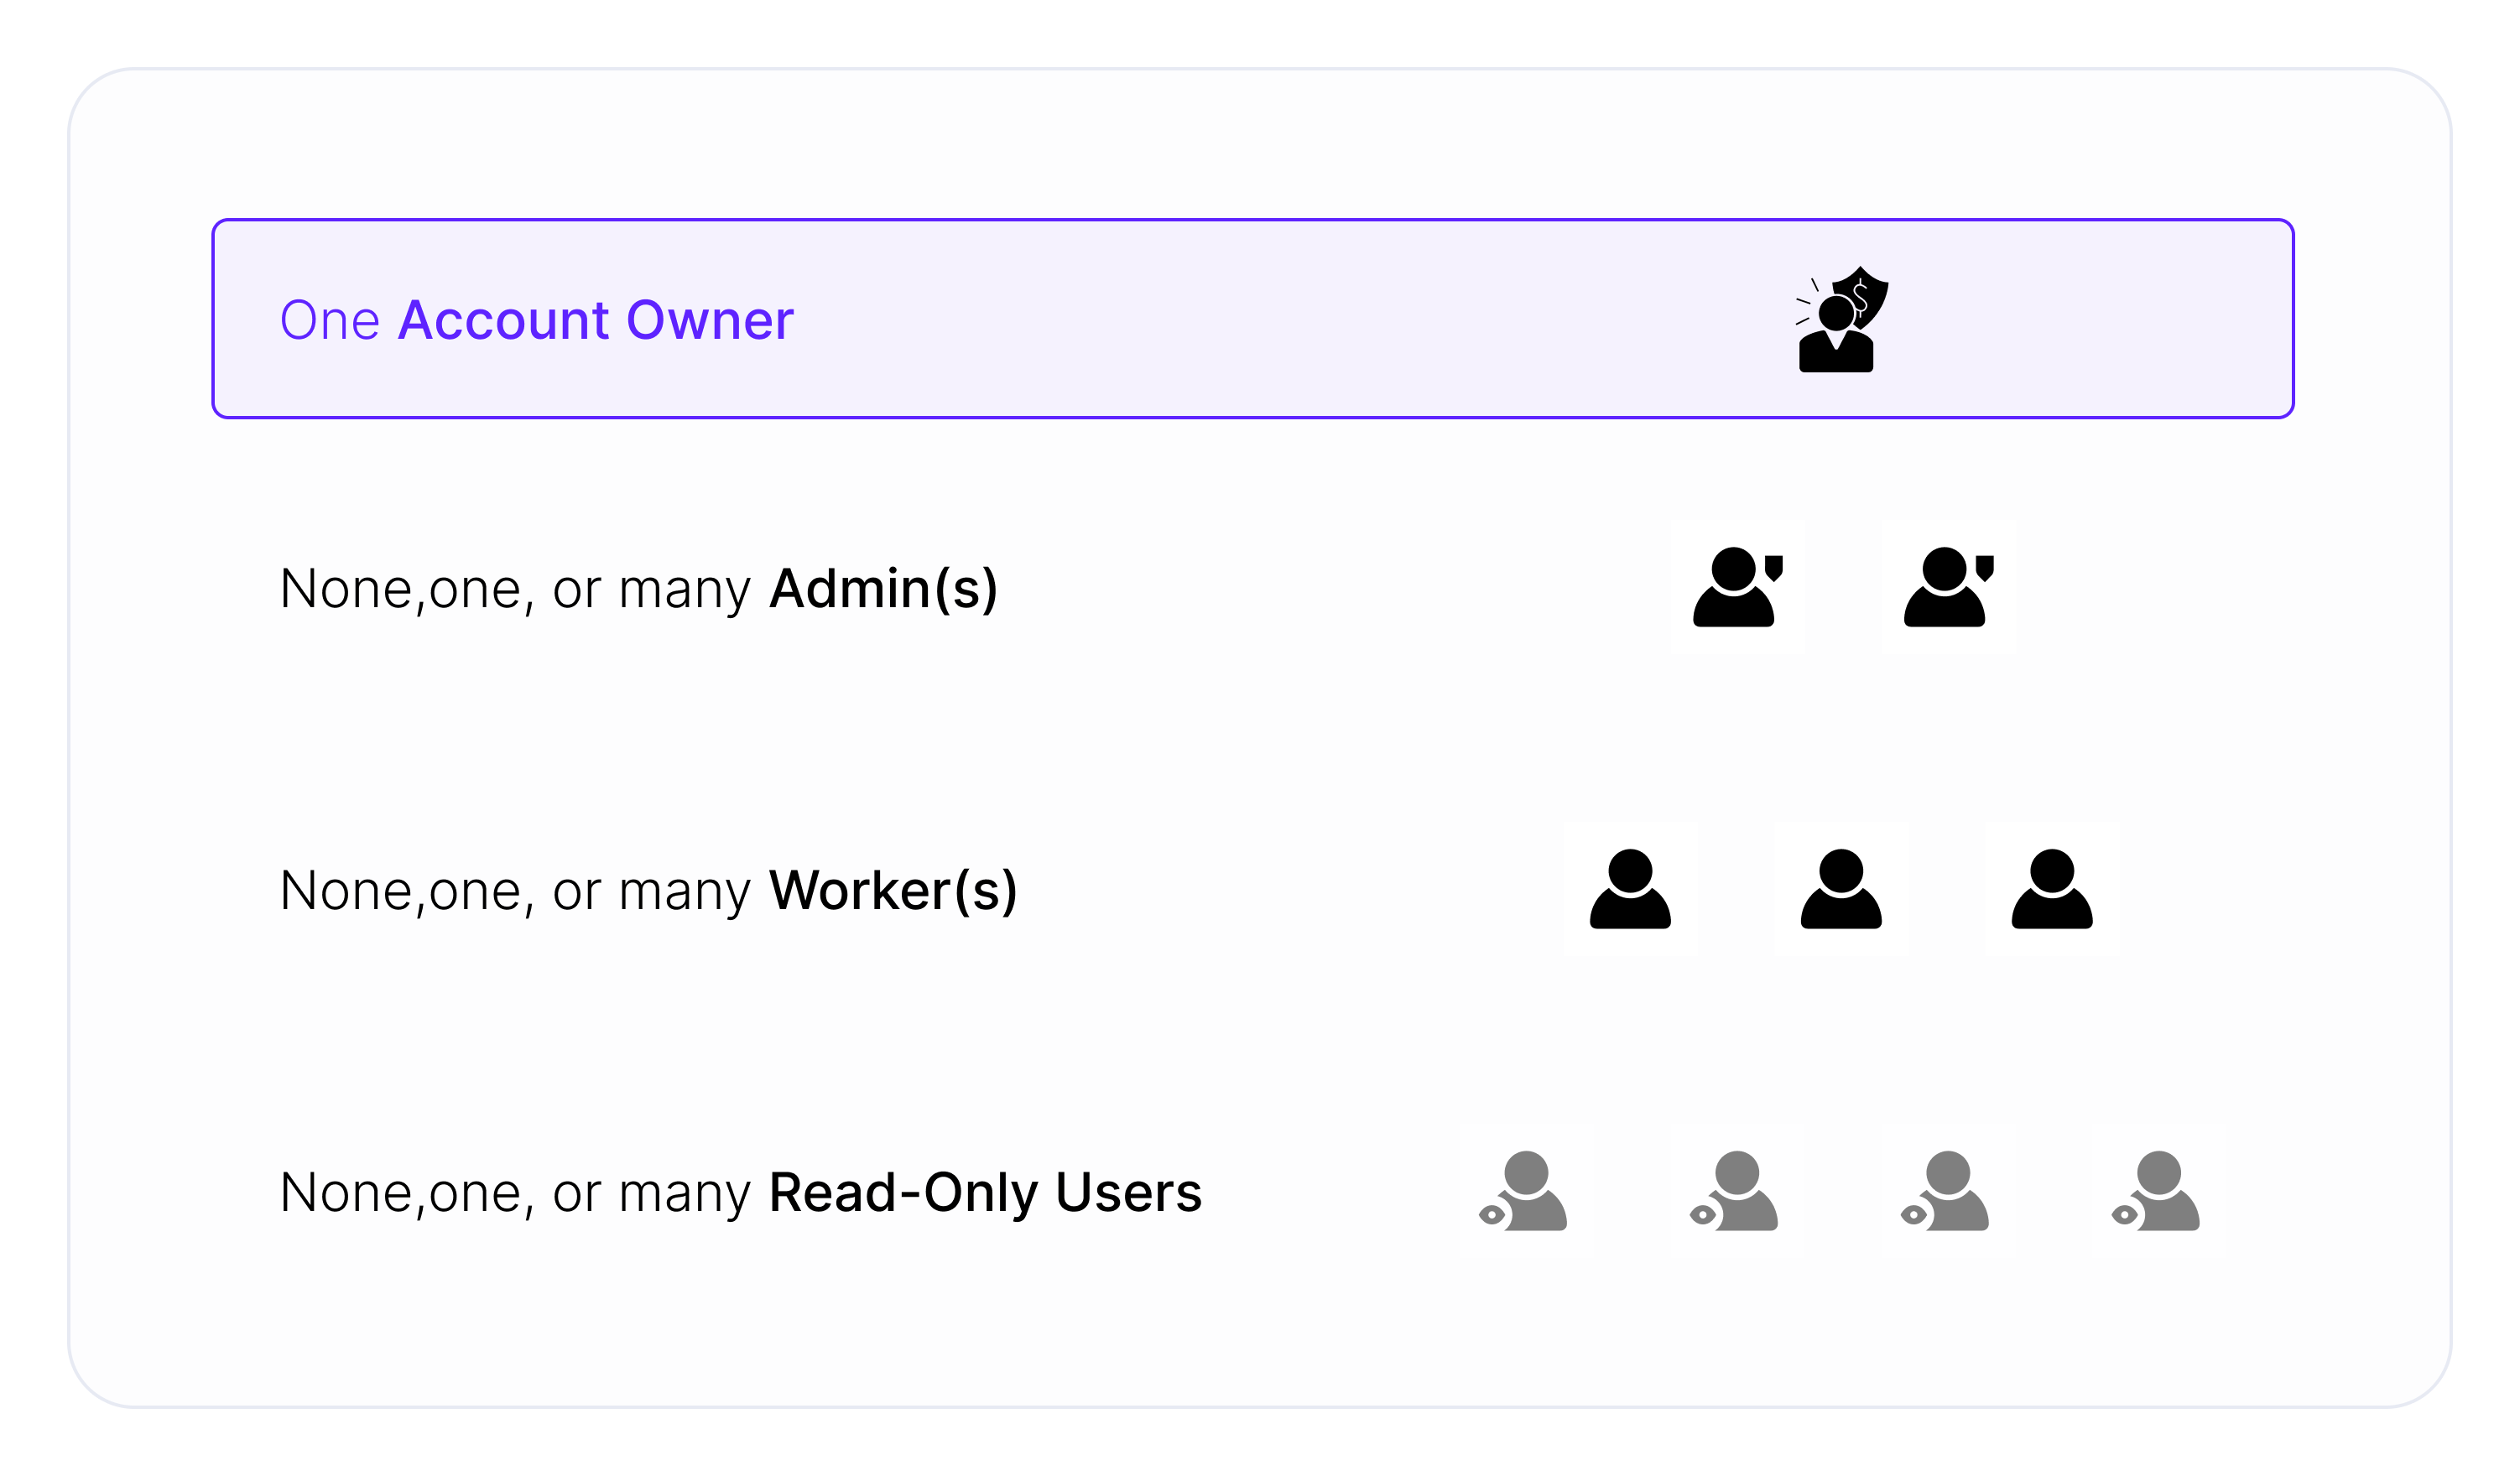
Depending on the complexity of your campaign management structures, your role is to distribute the workload among other ClickFlare users, such as Admins and Workers. To achieve this, you need to invite new users and create new Workspaces. The number of users you can invite depends on your pricing plan, and upgrading to a higher plan or acquiring additional users is always an option.
Collaboration Area:
The collaboration Area, found in the Settings view of ClickFlare, is where you manage different settings of Workspaces and Multi-user features. Regarding the Collaboration area feature, two options are available:
- Multi-User: Inviting and changing role assignments for your users.
- Workspaces: Creating and changing workspace assignments for your users.
Managing Users:
As an Account Owner, you can invite other users to your ClickFlare account to delegate workload and assign them either an Admin or Worker role.
Inviting New Users:
- Sign in to ClickFlare.
- Click the settings icon to access the Settings view.
- Navigate to the Collaboration area tab.
- In the Collaboration area view, go to the Multi-User tab.
- Click the Invite user button to open the Invite user form.
- Provide the user's email address and select their role.
- Choose one or more Private Workspaces for Workers or Read-only users.
- Optionally hide certain columns.
- Click the Invite button.
Pending invitations are visible in the Pending Invitations table. You can revoke an invitation by clicking the delete icon and confirming the dialog box.
Editing User's Settings:
- In the Multi-User tab, click the edit icon to enter edit mode.
- To change a user's role, select the appropriate role from the Role drop-down menu.
- Adjust user's Workspace assignments.
- Click the accept icon to save changes.
Removing a User:
- In the Multi-User tab, click the delete icon next to the user you want to remove.
- Confirm the removal by clicking the Yes, remove button in the dialog box.
Managing Workspaces:
As an Account Owner, you can create new Private Workspaces and assign Workers to them.
Add New Private Workspace:
- In the Collaboration Area view, go to the Workspaces tab.
- Click the Add private workspace button.
- Provide the name of the Workspace.
- Select Workers or Read-only users.
- Choose domains assigned to this Workspace.
- Click the Save button.
Edit Workspace Settings:
- In the Workspaces tab, click the edit icon next to the Workspace name.
- Modify the Workspace's name.
- Change worker assignments.
- Click the Save button.

FREQUENTLY ASKED QUESTIONS
Got questions? Find the answers below:
Can I Add Another Public Workspace in ClickFlare Collaboration Area?
Unfortunately, it's not an option. ClickFlare automatically creates a default Public Workspace for each account, and only one can exist. This workspace holds all publicly shared elements, making it impossible to add another Public Workspace.
Why Can't I See the Invite User Button in ClickFlare's Multi-User Tab?
Not seeing the Invite User button in ClickFlare's Multi-User tab? It's likely because you've run out of available invitations. The number of invitations you have depends on your pricing plan, and you can check your available invitations count above the List of Users table.
Is Deleting a Workspace Possible in ClickFlare?
Generally, the answer is no. However, you can un-assign users from the Workspace and move campaign elements to another Workspace. Refer to the Moving Campaign Elements Between Workspaces article for detailed instructions on moving elements.
What Happens to Invited Users if I Downgrade My ClickFlare Pricing Plan?
Keep in mind that each plan has a limit on the number of invited users. If you exceed this limit, any pending invitations and the most recently added users will be removed at the start of the new billing cycle. For manual removal, you have until the end of the current billing cycle to adjust your user count.