To create an offer in ClickFlare, follow these steps:
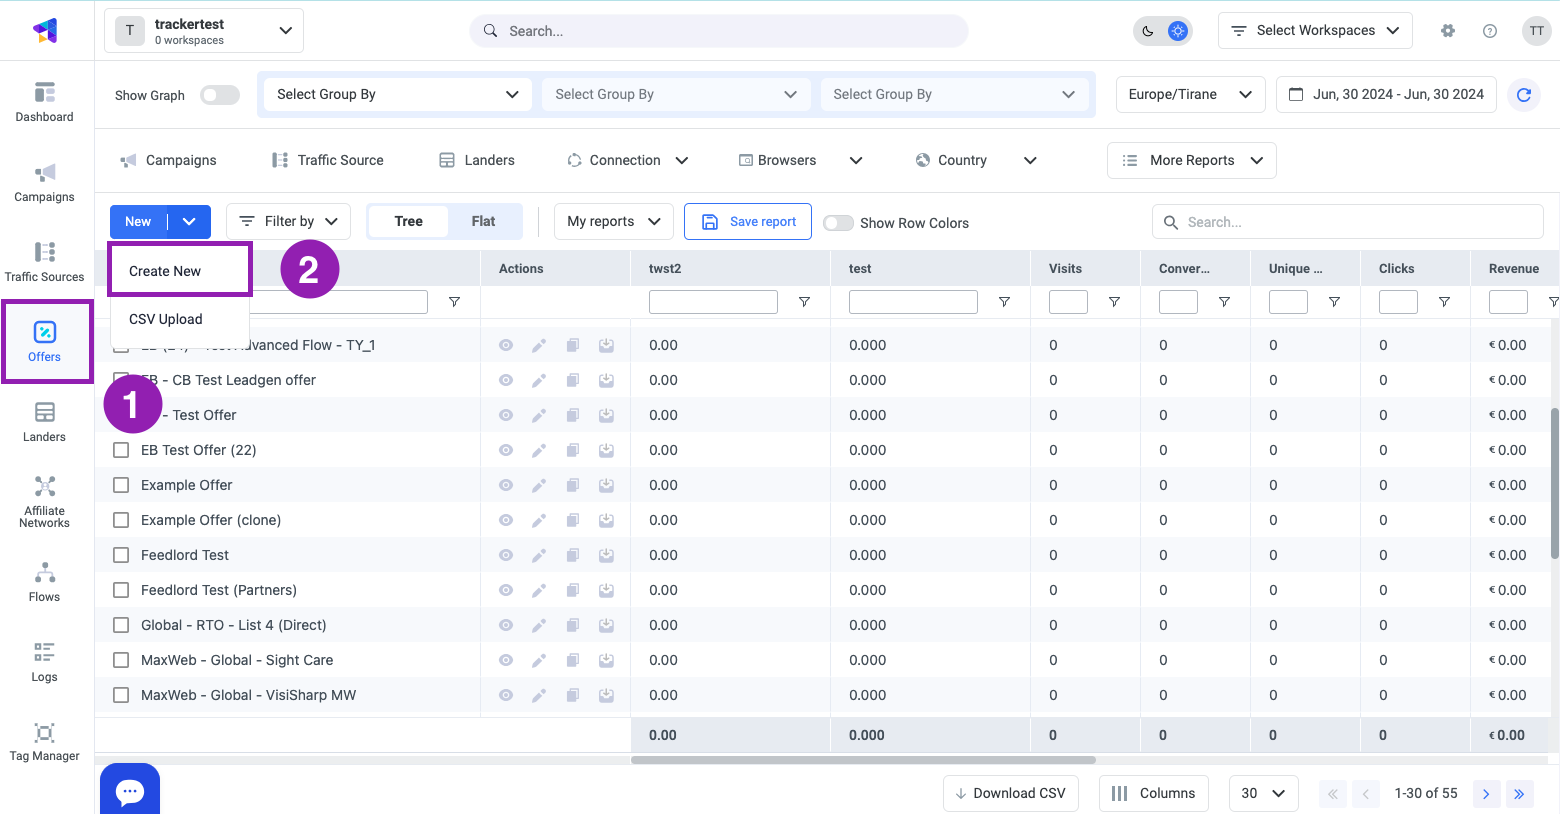
- Navigate to Offers: In ClickFlare, go to the Offers section.
- Create a New Offer: Click the New button dropdown arrow and select the Create New option from the drop-down menu.
- Choose Workspace (Optional): Select the Workspace from the drop-down menu that this offer will be assigned to. If no Workspace is selected, the offer will default to the Public workspace.
- Name Your Offer: Provide a unique name for your offer.
- Select Affiliate Network (Optional): If you want to associate this offer with a specific affiliate network, select it from the Affiliate Network drop-down menu.
Refer to the How to Add an Affiliate Network article for more details. - Enable Direct Tracking (Optional): If you're running traffic directly to an offer without using a redirect or a lander, enable the Direct Tracking switch. ClickFlare will provide you with an offer tracking script. Implement this script on your offer page.
- Enter the Offer URL: Provide the URL of your offer in the Offer URL field, and add the corresponding tokens to a parameter within the offer URL.
Example 1 - Postback URL:To track conversions for your offer using a redirect method with a postback URL, add the
{cf_click_id}token to the offer's URL with a corresponding parameter from the affiliate network platform.For instance, if your offer URL is
https://my_offer.comand the affiliate network uses the sub1 parameter to track conversions within the postback URL, the offer URL should be:https://my_offer.com?sub1={clickid}Note: If you have selected an Affiliate Network, simply enable the 'Append Click ID to Offer URL' switch. ClickFlare will automatically use the parameter from the chosen affiliate network template to append the ClickFlare click ID ({cf_click_id}) to the offer URL.Read the Track Conversions Using S2S Postback URL article to learn more about setting up conversion tracking.
Read the Parameters in Postback URLs article to learn about additional parameters you can pass to your offer.To track conversions with a direct method using a conversion tracking pixel, you do not need to pass a click ID to an affiliate network platform. The click ID is logged on a visitor's computer in a cookie and will be fetched when the conversion tracking pixel runs.
Read the Track Conversions Using a Conversion Tracking Pixel article to learn more.
-
(Optional) You can select a conversion tracking method. The options include:
● S2S Postback URL
● Tracking Pixel
● Tracking Pixel URL
● Tracking Script
Once you select an option from the drop-down menu, you can copy the URL or script to the clipboard.
-
(Optional) Enable the toggle to pass up to 5 custom additional parameters in the postback URL.
- (Optional) If using a tracking script on an offer page to track conversions directly (without a landing page in between), implement the offer tracking script on the offer page. This method is also used in rare cases for tracking conversions directly on the offer page rather than on a "Thank You" page.
- Track the Payout: You can track the payout either dynamically or manually:
- Auto: Select this option if you have added a payout parameter to the postback or pixel URL. Tracking values are sent via a postback URL/pixel request.
ClickFlare Info: To learn how to track payouts for your offer, refer to the Tracking Payouts article - Manual: Provide a fixed amount in the field in the offer’s configuration. Each time a conversion is recorded, the amount will be added to a total payout sum. If using the GEO-specific payout feature, use the Manual payout
- Auto: Select this option if you have added a payout parameter to the postback or pixel URL. Tracking values are sent via a postback URL/pixel request.
- Select Currency: Choose an offer currency from the Currency drop-down menu. The default payout currency is USD.
Ensure this currency matches the payment currency from your affiliate network. For example, if you are paid in euros, choose EUR. If the selected currency differs from your account's default reporting currency, it will be converted accordingly. You can set the default reporting currency under general settings.
Read the Multicurrency in ClickFlare article to learn more. - (Optional) The Geo-specific payout option allows you to override the manual payout value if a conversion comes from a specific country. Read the GEO-specific payout article to learn more.
-
(Optional) In the Conversion Cap section, enable the toggle to activate the Conversion Cap feature.
Read the Offer Cap article to learn more.
- (Optional) Add notes with important information.
- Save the Offer: Click the Save button to add the offer to ClickFlare.