This guide will walk you through creating a multi-offer landing page in ClickFlare.
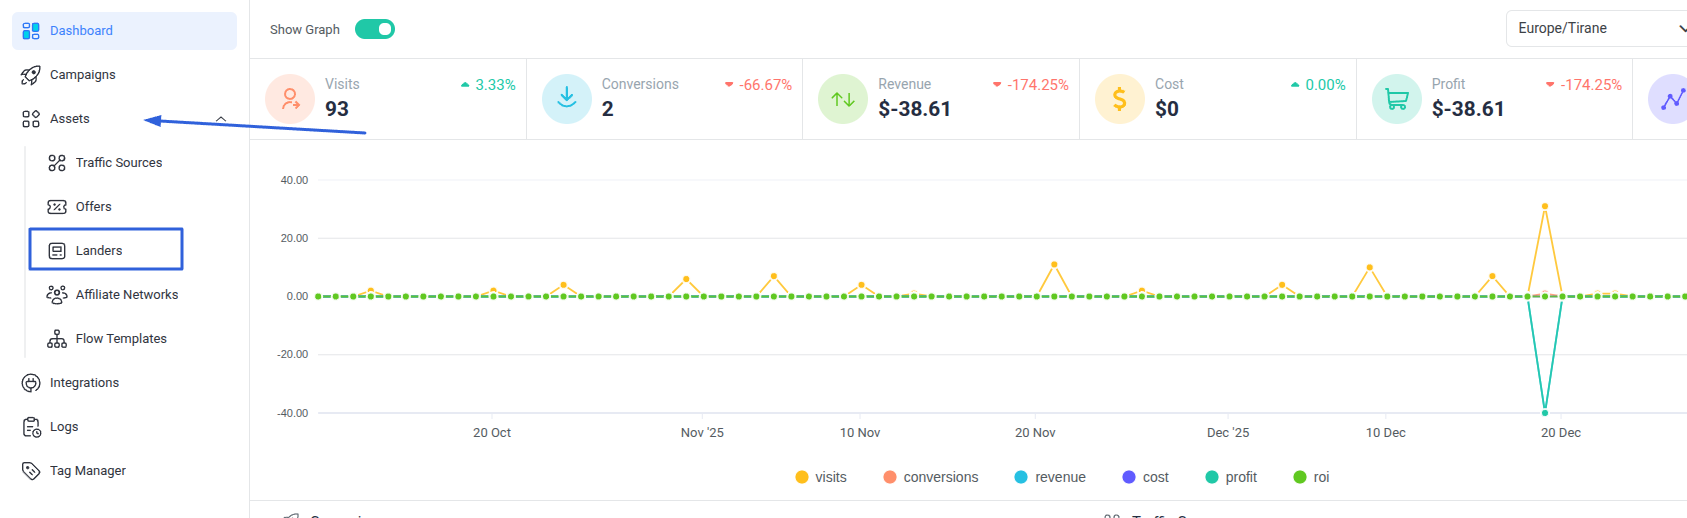
Step 1: Access Landers
In the left sidebar, go to Assets, then select Lander.
Step 2: Create a New Lander
-
Click the New button.
-
Add a name for your Lander.
-
Paste the landing page URL in the provided space.
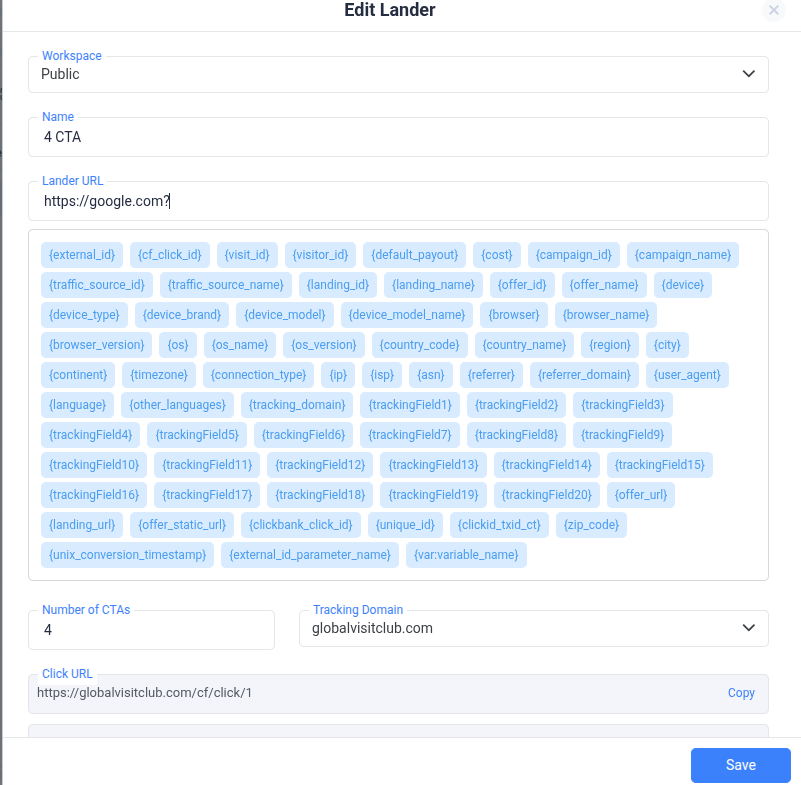
Step 3: Set the Number of CTAs
-
Choose the number of Call-to-Actions (CTAs) you want.
-
Example: If you’re redirecting visitors to 4 different offers, select 4 CTAs.

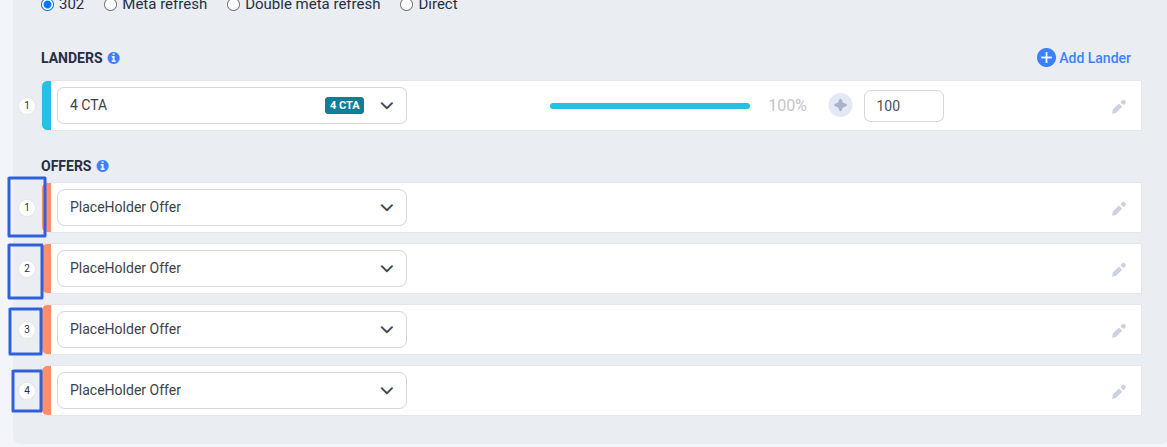
Step 4: Assign Offers to CTAs
-
Copy each provided Click URL.
-
Insert each URL under the element (link or button) that leads to its specific offer.
Important:
- Link 1 → Offer 1
- Link 2 → Offer 2
- …and so on.
Each link will always redirect to the designated offer.
-
The first offer in the row will be redirected from:
https://globalvisitclub.com/cf/click/1 -
The second offer will be redirected from:
https://globalvisitclub.com/cf/click/2 -
And so on for the remaining offers.
Step 5: Save
Once all links are added, click Save to finish the setup.
This setup ensures each CTA on your landing page sends visitors to the correct offer, making multi-offer campaigns simple and organized.