Thanks to ClickFlare's native API integration with Media.net, conversions and revenue are automatically pulled into ClickFlare every hour for up to 3 days after a conversion occurs, ensuring your data is always up to date.
In this article, we'll go over the step-by-step process of setting up the API Integration with Media.net.
What You’ll Need:
-
An active Media.net account
-
An active ClickFlare account
-
Your Media.net login credentials
Setting Up Media.net Integration in ClickFlare
1. Access the Integration Menu
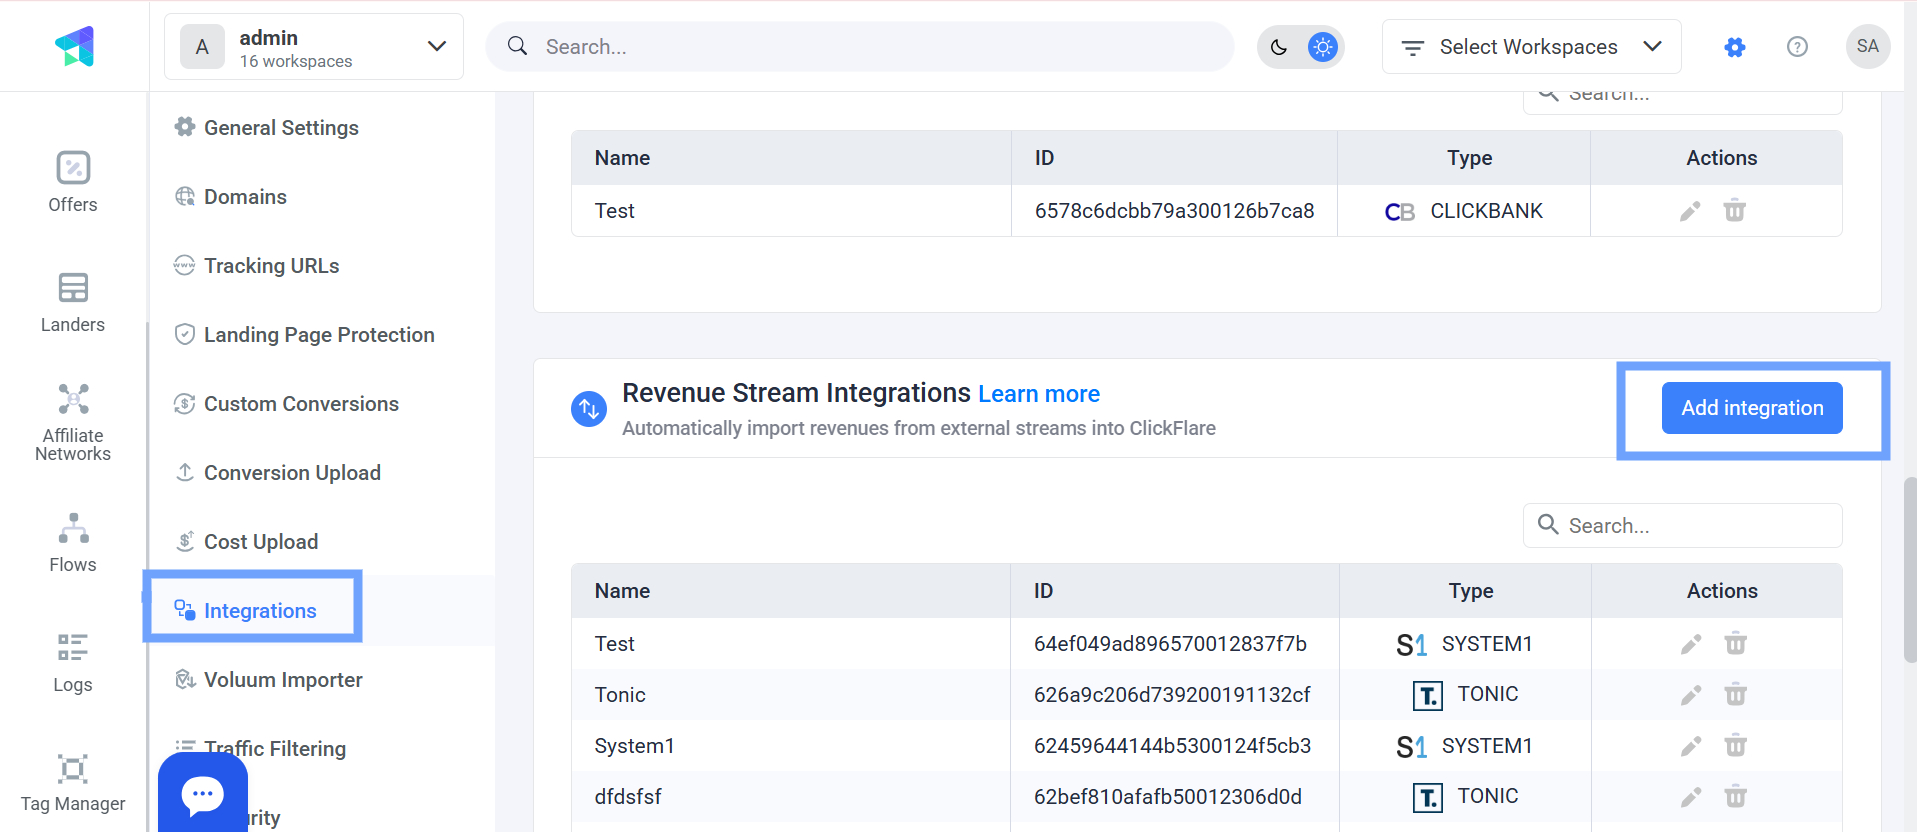
Go to the Settings menu (gear icon) in your ClickFlare dashboard and click on Integrations.
- Under Revenue Stream Integrations, click Add Integration.
- Give your new integration a name.
3.jpg)
2. Configure the Integration:
-
Choose the Media.net template
-
Assign a Name to your integration
- Name: Enter account name.
- Email: Enter your Media.net email.
- Password: Enter the corresponding credential.
- Then click Save.
Click + Connect Account under Accounts
3. Select the Custom Conversion
Choose the Custom Conversion in ClickFlare to which you want Media.net conversion events to be attributed.
To learn how to add a custom conversion in ClickFlare, follow our article here.
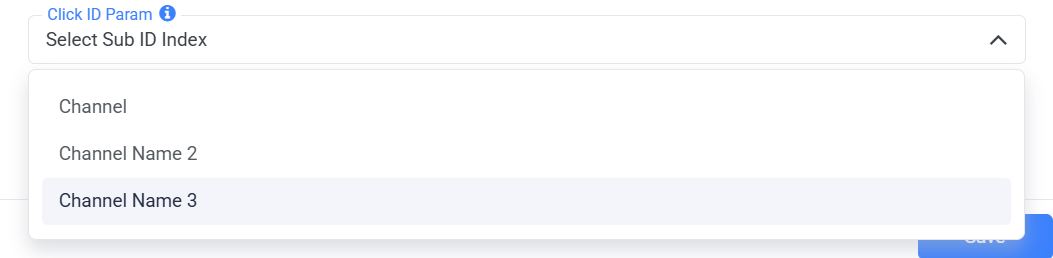
4. Define the Channel Name
Select a Channel Name that ClickFlare will use to track the ClickFlare Campaign ID
Important: Use this exact channel name when creating offers for Media.net to ensure click and conversion data aligns. e.g chnm3={campaign_id)
5. Add Required Tracking Parameters
When creating your offer URL, make sure to append the required tracking parameters:
https://example.com/offer-page?click_id={cf_click_id}&chnm3={campaign_id}6. Use the Proper Postback Format
ClickFlare will pull conversions from Media.net using the following postback URL:
https://your_tracking_domain.com/cf/cv?click_id={click_id}¶m10={chnm3}&ct=clickFor example: &ct=click parameter should align with the custom conversion Name you've chosen in The Revenue Stream Integration:

7. Save & Finalize
Click Save to complete the integration. Your Media.net integration will now appear under Revenue Stream Integrations, and ClickFlare will begin syncing your conversion data.
FREQUENTLY ASKED QUESTIONS
Got questions? Find the answers below:
Q1: How can i append keywords in the offer URL?
A1: Unlike other feed providers, Media.net’s offer URL only supports one keyword at a time. A common workaround for keyword rotation is to create multiple versions of the same offer, each using a different keyword, and run them under a single campaign.
Q2: What happens if I don’t set up the postback in Media.net?
A2: ClickFlare won’t be able to record conversions or revenue. Make sure the postback is properly added in your Media.net account.
Q3: What should I do if my Media.net conversions aren’t showing up in ClickFlare?
A3: Double-check that:
-
The correct postback URL is added in Media.net
-
The click ID {cf_click_id} is passed correctly in the offer URL
Q4: Can I pass additional data to Media.net?
A4: Yes, you can pass additional data in the offer URL by mapping the parameters you want to send to the available Media.net fields. For example: chnm={country}.