Thanks to ClickFlare's API integration with ClickBank, you'll be able to have conversions and revenue accurately pulled into ClickFlare. You just need to connect your ClickBank account, and ClickFlare will take care of the rest.
In this article, we'll go over the step-by-step process of setting up the API Integration with ClickBank.
What you'll need for the integration:
- An active ClickBank Account
- An active ClickFlare Account
- Your ClickBank Api Key
Where can I find my ClickBank Clerk API Key and Dev API Key?
Start by:
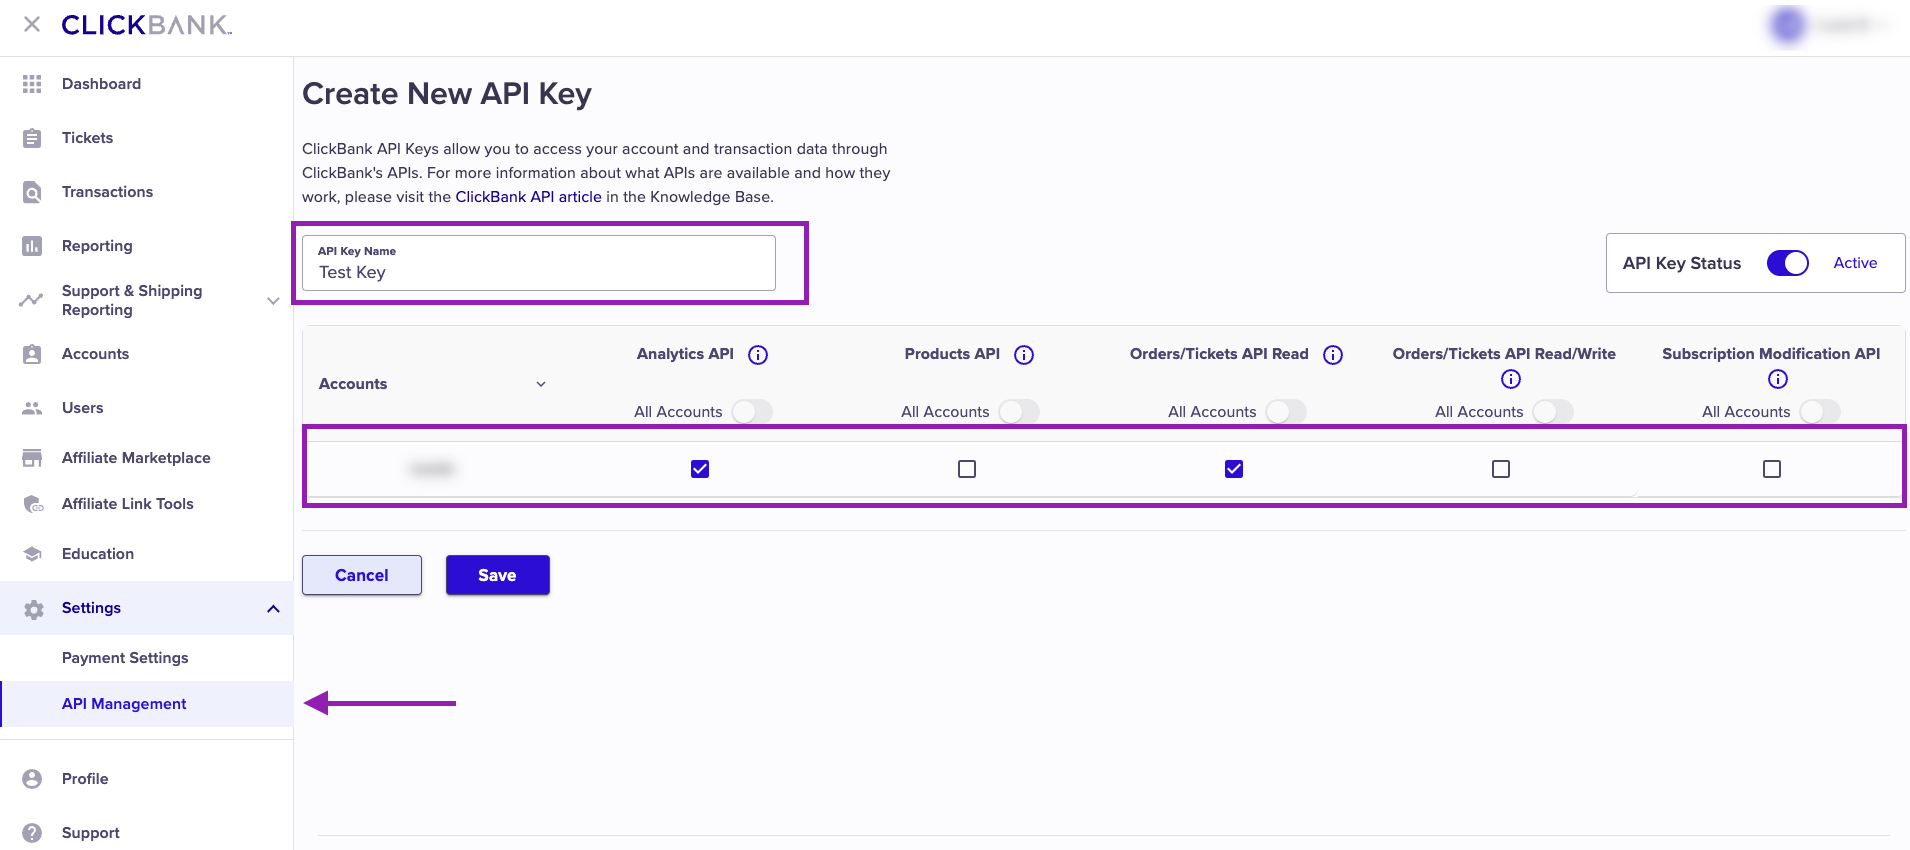
- Logging in to your ClickBank Account.
- Go to the Settings (left menu bar), and click on API Management.
- Click Create New API Key.
- Provide a name for your key, and make sure to check the Analytics API and Orders/Tickets API Read.
- Copy the key and be ready to use it during the integration in ClickFlare.
Adding the ClickBank integration to ClickFlare.
Begin the process by:
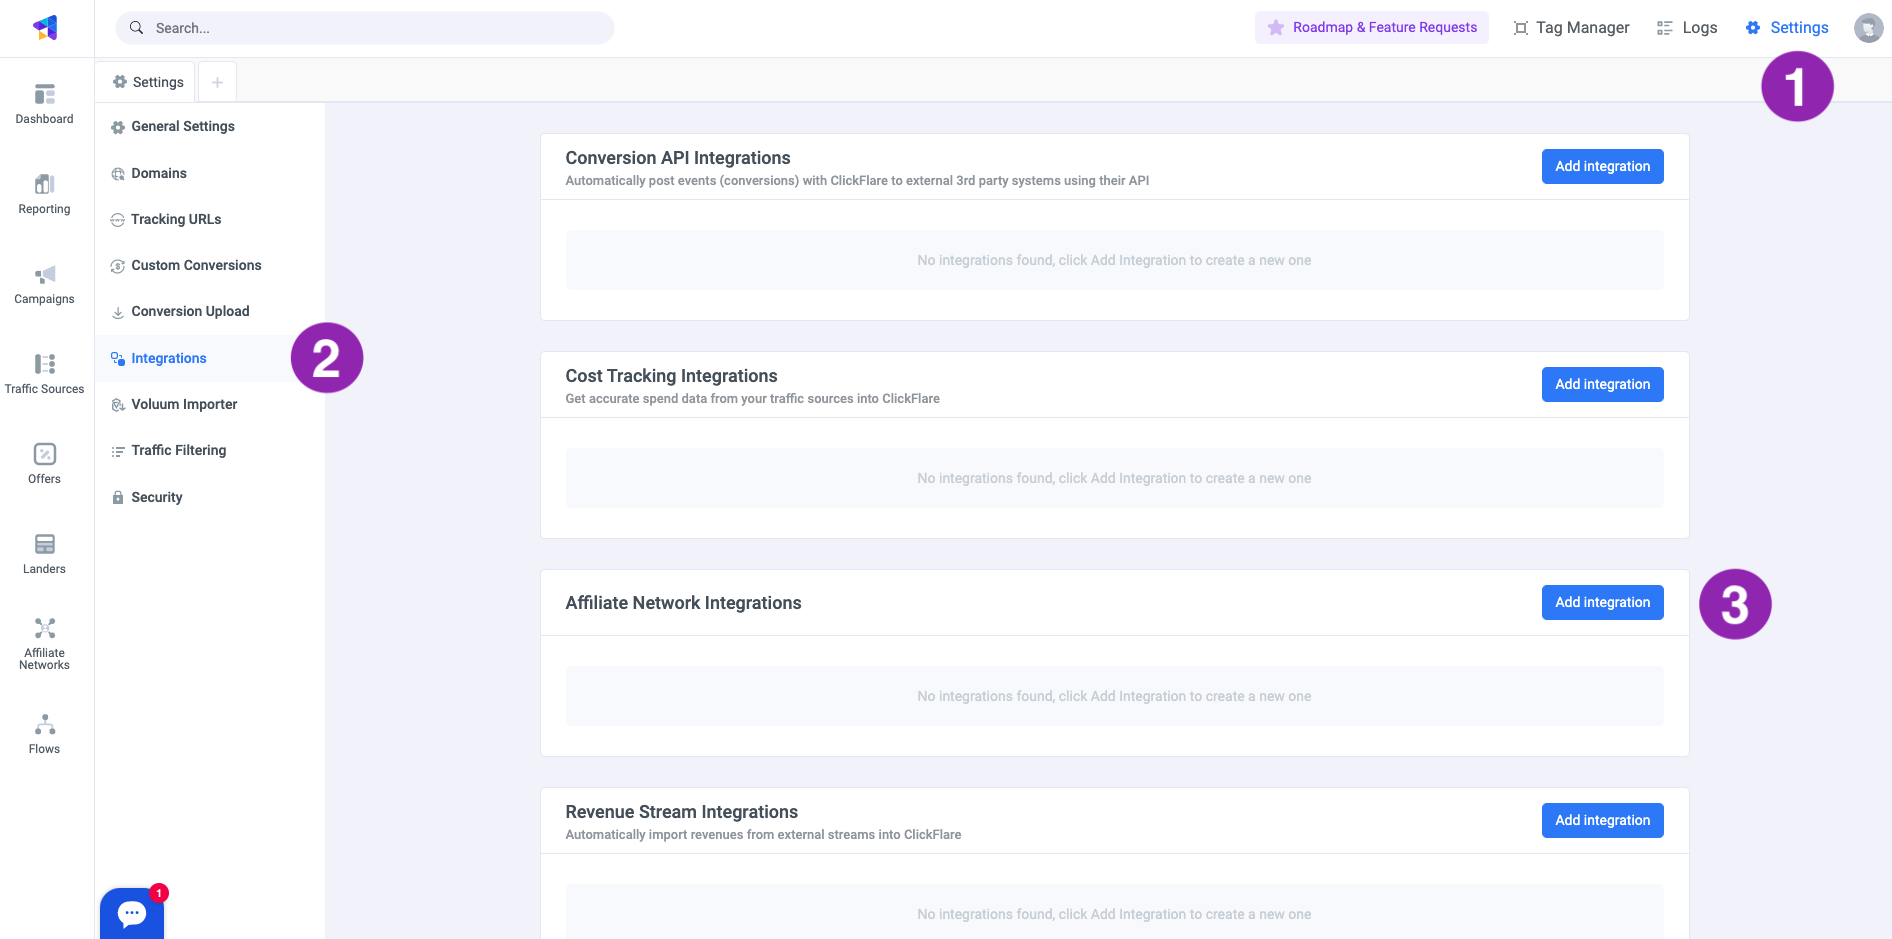
- Entering the Settings' Menu (gear icon in the upper right corner) inside ClickFlare.
- Go to the Integrations tab.
- In the Affiliate Network Integrations' section, click on Add Integration.
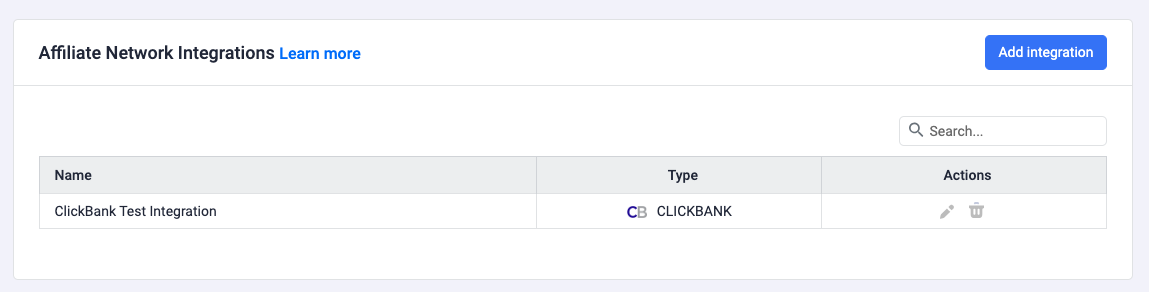
- Give your integration a name, and select ClickBank from the Integration Type dropdown menu.
- Paste the Api Key, you copied earlier.
- Once done, click on Save.
- Your new Integration will now be listed on the Integrations Menu.
- Go to custom conversions from the right-side Settings menu, and create a new custom conversion called Sale (see image).

- Finally, turn on Include in Conversions and Revenue, and click Save
✅ Done. Your integration is ready to use.
&tid={clickbank_click_id} For more info on this, click here.Set up Custom Conversions in ClickFlare for other Event Types
Setting up custom conversions will allow you to have all available event types pulled from ClickBank into ClickFlare.
Clickbank sends the following conversion types:
SALERFNDCGBKFEEBILL
*UPSELL
* The UPSELL conversion type is distinguished by ClickFlare.
- What do I need to do in order to have these conversions in ClickFlare?
You must configure a distinct custom conversion for every type you want to track. To achieve this, follow these steps:
- In ClickFlare, click the settings button in the top right corner.
- Go to the Custom Conversion tab.
- Add a custom conversion for each type. You don't have to set up all custom conversions listed above, just the ones you want to see in ClickFlare reports.
The result should look like this: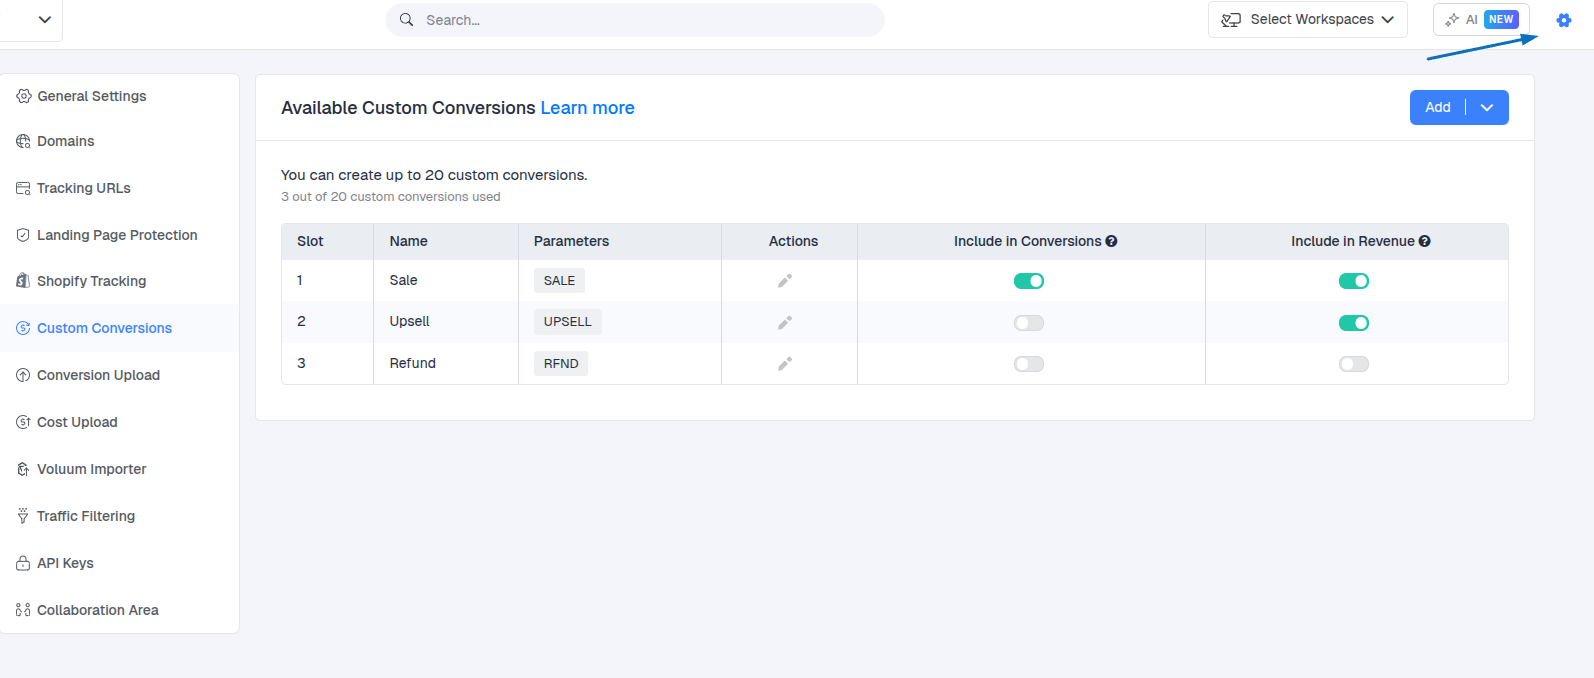
* Each of the added custom conversions will show up as a separate column in ClickFlare stats. You can decide separately for each of the custom conversions, if you want to add the in the main Conversions and Revenue columns.
Click here for more information on Custom Conversions.