Thanks to ClickFlare's API integration with Codefuel, you'll be able to have conversions and revenue accurately pulled automatically into ClickFlare.
The revenue and conversions are pulled with a frequency of every hour for 3 days, from the moment that the conversion happens. So you're assured to always have the most up-to-date revenue
In this article, we'll go over the step-by-step process of setting up the API Integration with CodeFuel.
What you'll need for the integration:
- An active CodeFuel Account.
- An active ClickFlare Account.
- Your CodeFuel Client ID and Client Secret.
Adding the Codefuel integration to ClickFlare.
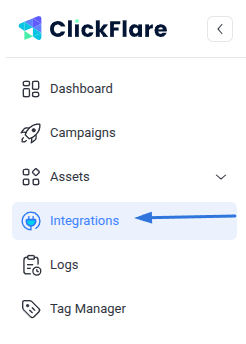
To add CodeFuel integration to your ClickFlare account, begin by accessing the Integrations Menu, found in the left sidebar.

- Under Revenue Stream, click Add Integration.

- Choose the CodeFuel template
- Give your new integration a Name.
- Enter your Client ID and your Client Secret.
- Move on to choosing the custom conversion you want to attribute the conversion event to.
To learn how to add a custom conversion in ClickFlare, follow our article here.

- Lastly, click on Save.
You’ll see the new integration appear under the Revenue Stream Integrations section.
Offer URL template for CodeFuel:
https://search.automotivepro.co/search?q=shoes&gd=AP1007384&gclid={cf_click_id}&subid={cf_click_id}
If you want, you can also add the postback directly in the URL, as shown below
https://www.searchoverus.com/search?q=shoes&gd=AP1007384&pb=https%3A%2F%2Fwww.flarequick.com%3Fclick_id%3D%7Bcf_click_id%7D%26ct%3Dclick
*It's advisable to encode the postback as shown above.
Postback template for CodeFuel
Alternatively, you can ask your account manager to implement it for you. In case you opt for this solution, share with them the following postback:
https://www.your_tracking_domain.com/cf/cv?click_id={subid}&ct=click