Thanks to ClickFlare's API integration with RevContent, you'll be able to track the cost of your campaigns, content, and widgets (publishers) directly from ClickFlare, making their tracking and optimization easier than ever before.
In this article, we'll go over the step-by-step process of setting up the API Cost Integration with RevContent.
What you'll need for the integration:
- An active RevContent Account
- An active CF Account
- RevContent Client ID and Client Secret
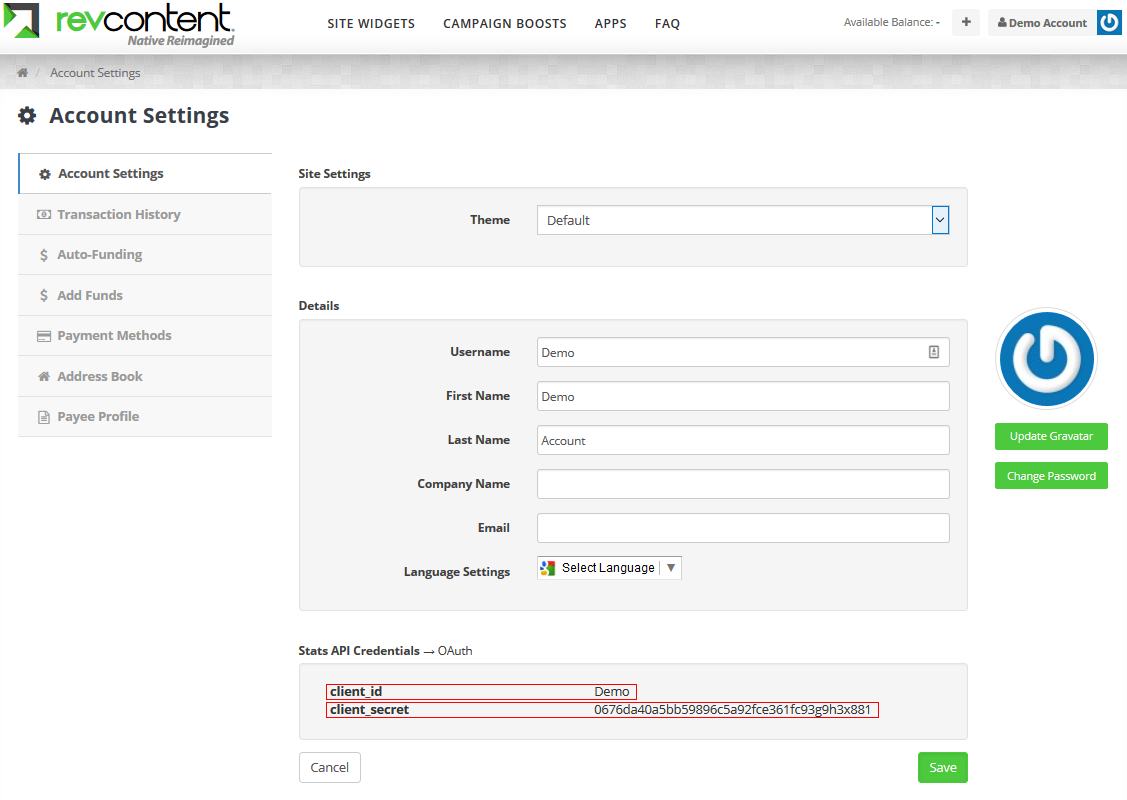
When logged into your RevContent account, go to your Account Settings. You should see your Client ID and Client Secret at the bottom of the page under "Stats API Credentials" (as seen in the image below).
How to Set Up the Integration
Begin the process by:
- Open the ClickFlare left sidebar
- Go to the Integrations tab.
- In the Cost Tracking Integrations section, click on Add Integration.
- Select RevContent from the list of available integrations

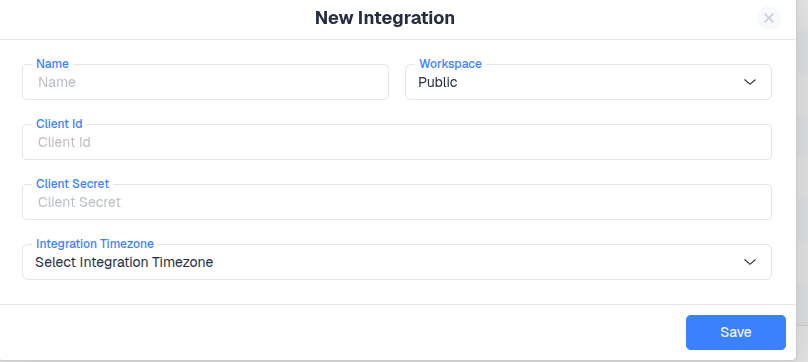
Configure Integration Details
Now fill in the required information:
- Workspace: Choose where this integration will be used (public or private workspace)
- Integration Name: Give it a clear, recognizable name
- Paste the Client ID and the Client Secret
- Timezone: Select the same timezone used in your NewsBreak account
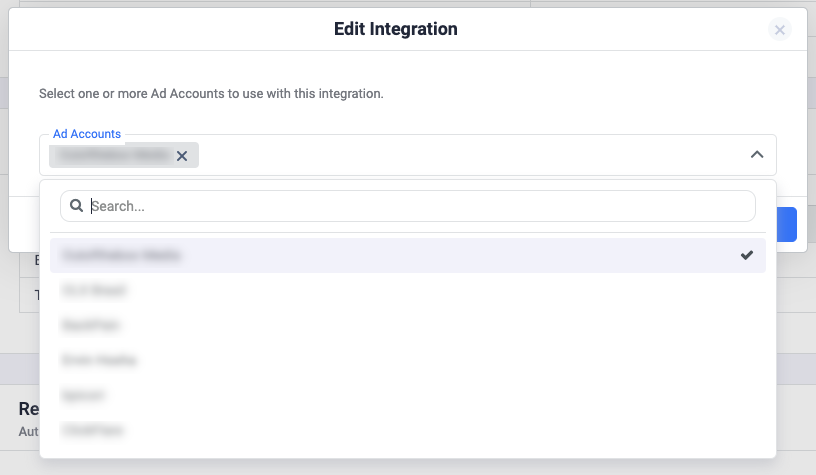
- Choose the Ad Account(s) from which you want costs to be pulled then click Save.
 Note: You only need to create one integration per Business Account. In one integration, you can select multiple ad accounts. ClickFlare will then automatically know to which campaigns to associate costs to.
Optional Settings
- You can assign specific traffic sources to this integration
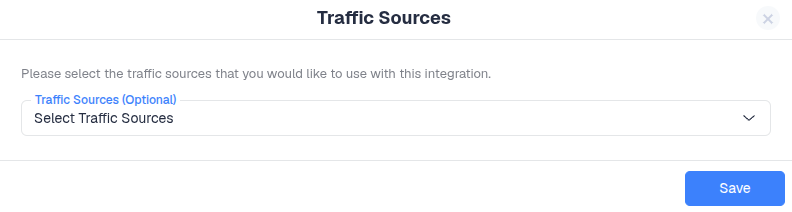
If in this step you do not set which traffic source configurations will use this cost integration, you can alternatively set the cost integration on the traffic source configuration settings.
- Lastly, go to the Traffic Source configuration settings and assign the cost integration you created under the Cost Integration section.
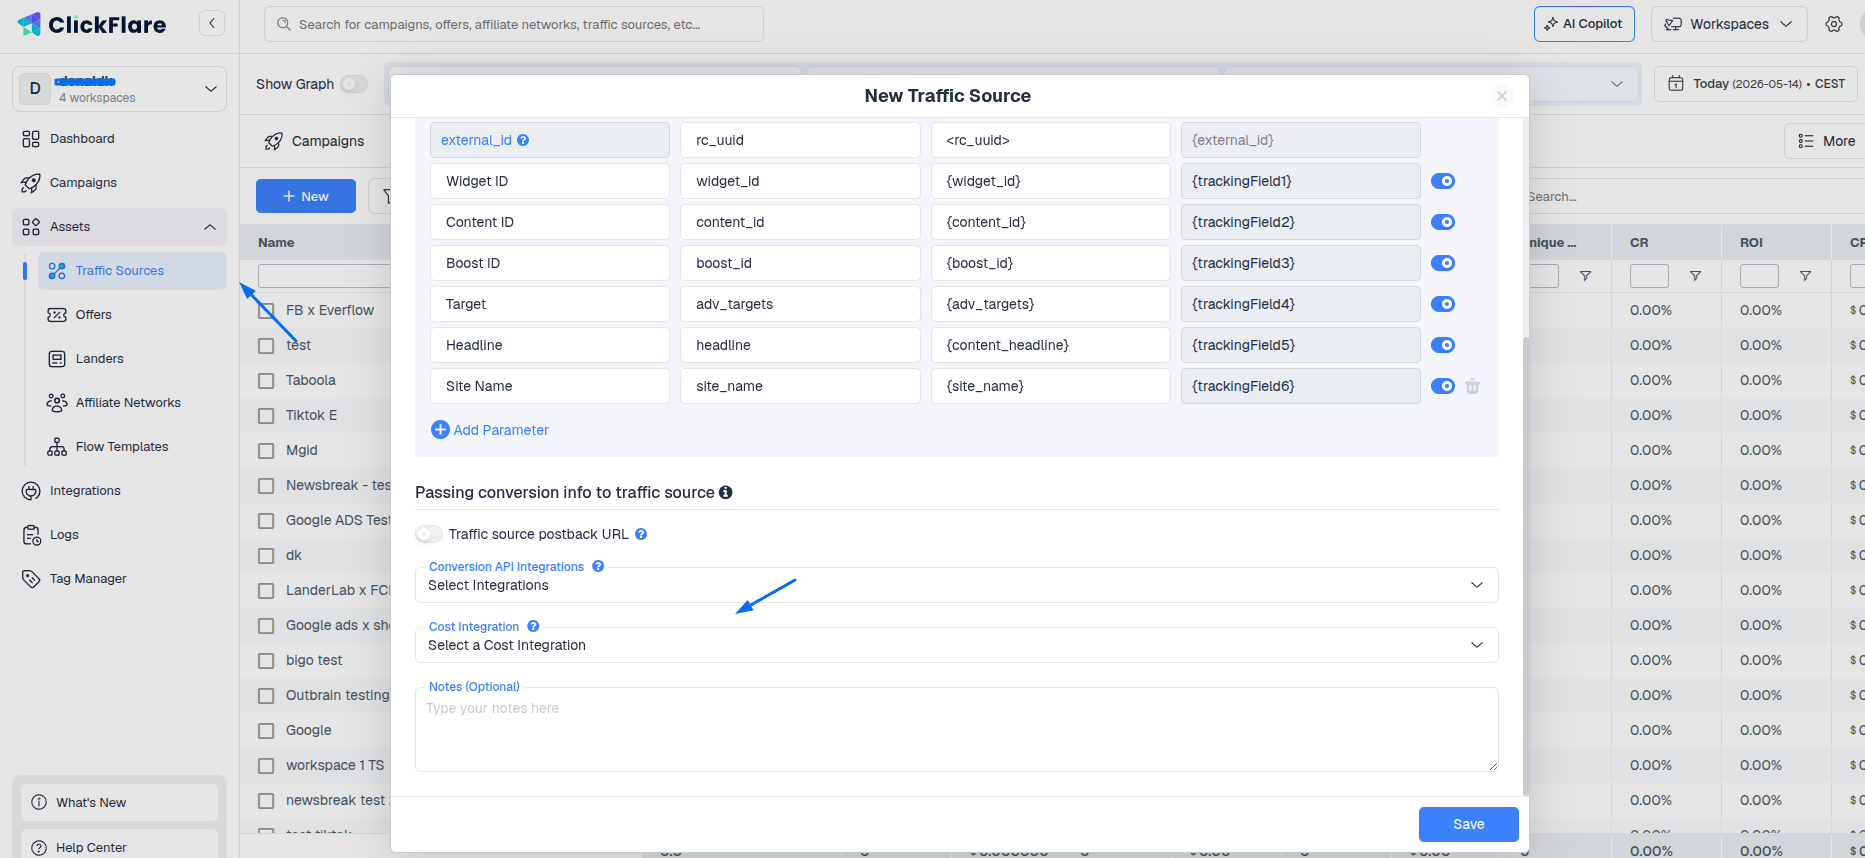
Important Note: When setting up the Traffic Source, make sure to select the newly created integration. If this step is missed, cost data will not be imported correctly.
Congratulations, you’ve just finalized the cost integration of RevContent in ClickFlare. From now on, you’ll be able to see the cost of your campaigns directly from ClickFlare.